You know what’s the most unpredictable part of working with servers?
That moment when you’ve finally set everything up just right, launch your project, and breathe a sigh of relief: “Phew, now we’re good to go.”
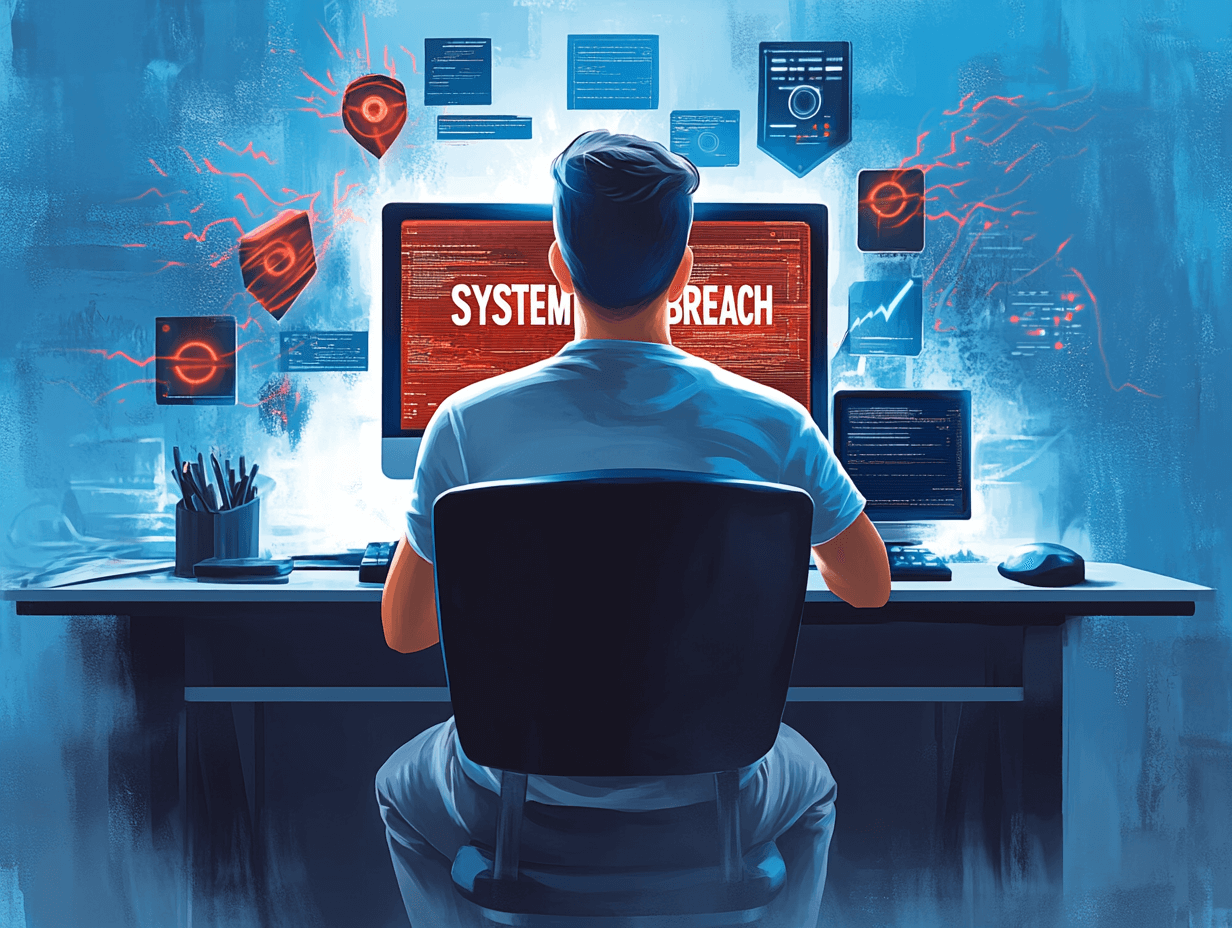
And then... a week later, you realize your machine has become part of a botnet, or—better yet— it’s mining crypto for some guy halfway across the world.
At King Servers, we’ve seen this story play out hundreds of times. Someone rents a VPS/VDS, gets everything running perfectly... and that’s when it gets interesting — they completely forget about security.
“Who would bother with my little server? It’s not like I’m a bank or anything.”
But for automated vulnerability scanners, your IP is just another target in an endless list.
Let’s be honest: most breaches don’t happen because of elite hackers or complex exploits, but due to simple oversights in basic security.
“Why pick a lock when the door’s wide open?” — sounds like something your sysadmin might say.
We’ve put together a checklist to help you protect your Linux server. No fluff — just real, practical advice. And yes, these tips actually work — tested and proven on many of our clients’ servers.
Step One: SSH — Your First Line of Defense
SSH is like the front door to your server. And if it’s wide open or held shut with a weak lock... you know how that ends.
Here’s what you should do first:
- Change the default SSH port.
Port 22 is the first thing bots scan. Pick something between 10000 and 65535.
No, it’s not a cure-all, but it blocks 90% of automated attempts. - Forget passwords. Seriously.
Set up SSH key authentication and disable password login entirely.
A few minutes of setup now will save you a ton of headaches later. - Restrict access by IP if possible.
If you only work with the server from your office or home with a static IP —
add it to the allowlist and block access for everyone else.
Why SSH Security Matters
Most server attacks begin with attempts to break in through SSH. It’s a prime target for attackers because SSH is almost always open — especially on new or unprotected machines.
Below is a breakdown of the attack types we’ve observed when analyzing client server logs. As you can see, the vast majority are brute-force password attempts and attacks targeting root access.
Step Two: Firewalls — Not a Luxury, but a Necessity
There was this one case: a client had everything set up perfectly — except for the firewall.
Three days later, the server was already down, overloaded.
Someone found an open Redis instance and decided to throw a little party there.
- Install and configure UFW (Uncomplicated Firewall) — it really is easy to use.
- Only open the ports your project actually needs to function.
- By default — deny all incoming traffic, allow all outgoing.

Step Three: Updates — The Routine That Saves Lives
“Ugh, updates again...” — sound familiar?
Meanwhile, the vast majority of successful breaches happen through vulnerabilities
that were patched months or even years ago.
- Set up automatic security updates.
- Regularly check for updates to your CMS and any other software you use.
- Subscribe to security mailing lists for your Linux distribution.
Step Four: Monitoring — Know Who’s Knocking on the Door
Without monitoring, you’re like a person blindfolded — you have no idea what’s happening around you.
And trust us, there’s a lot going on:
- Set up an Intrusion Detection System (IDS) —
Fail2ban does a great job blocking suspicious activity. - Enable logging for all critical events and review logs regularly.
- Use tools like Logwatch to get summarized reports of server activity.

Step Five: Minimalism — Less Software, Fewer Problems
Every piece of software on your server is a potential doorway for an attacker.
So:
- Remove all unnecessary software. Seriously — if you don’t use it, uninstall it.
- Disable unused services and daemons.
- Follow the principle of least privilege:
programs should only have access to what they absolutely need to function.
Of course, this is just the tip of the iceberg. Security isn’t a one-time setup — it’s an ongoing process.
At King Servers, we’re always working to make sure our clients not only get stable servers, but also the knowledge to keep them secure.
And remember: even the most advanced security measures can’t protect against human carelessness.
So stay vigilant — and your server will stay yours, not part of someone else’s crypto farm.
Ready to upgrade to modern server infrastructure?
At King Servers, we offer both AMD EPYC and Intel Xeon servers with flexible configurations for any workload — from virtualization and web hosting to S3 storage and data clusters.
- S3-compatible storage for backups
- Control panel, API access, and scalability
- 24/7 support and assistance choosing the right setup
Registration Result
...
Create an Account
Quick sign-up for access to infrastructure
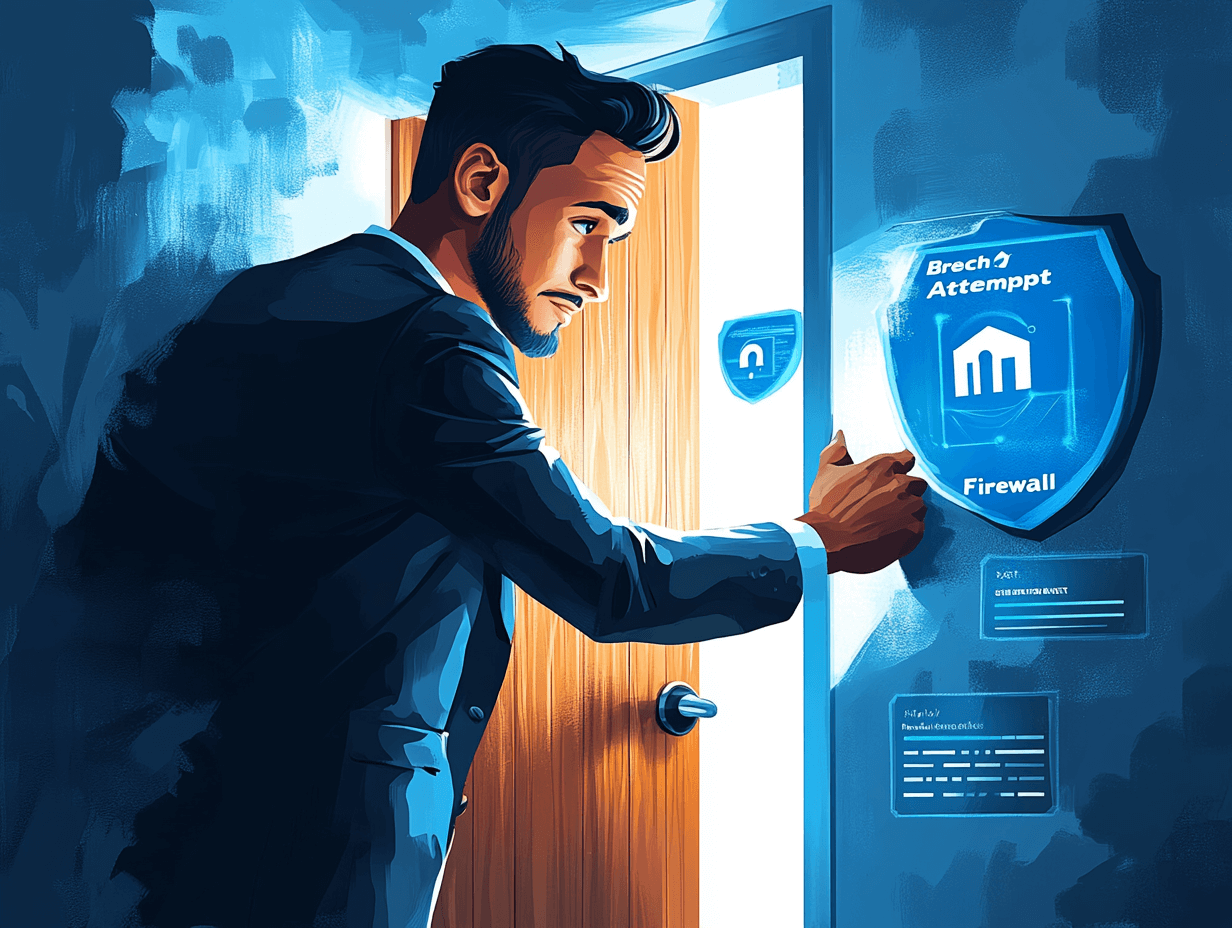
Firewall Setup: Closing Unnecessary Doors
The first thing we always recommend doing on a new server is
setting up a firewall.
Think of it like placing a security guard at the door — they decide who gets in and who doesn’t.
Without a firewall, your server is an open book to anyone who knows its IP address.
And believe us, the internet is full of curious folks.
The goal is simple: close all ports you don’t need, and only allow access to the services that actually need to run.
Let’s say you’ve set up a web server. In that case, you’ll only need:
- SSH (port
22) for remote management - HTTP/HTTPS (ports
80and443) for your website
Everything else can be safely blocked.
The fewer “open windows” your system has, the harder it is for an attacker to find a way in.
On servers running Ubuntu or Debian, we typically use UFW —
it’s a simple and beginner-friendly tool, even if you’re just getting started.
Here’s how to set it up step by step:
1. Install UFW if it’s not already installed:
sudo apt update && sudo apt upgrade -y
This takes just a couple of seconds, and you’re ready to configure it.
2. Allow the necessary ports:
sudo apt install ufw -y
sudo ufw allow 22/tcp     # SSH
sudo ufw allow 80/tcp     # HTTP
sudo ufw allow 443/tcp    # HTTPS
Here we’re opening the three standard ports.
If you’re using something specific — like a database on port 3306 or mail on port 25 — add those too, but only if they’re truly needed.
3. Enable the firewall:
sudo ufw enable
The system will ask if you’re sure.
Say “y” — and your protection is up and running.
4. Verify that everything is set up correctly:
sudo ufw status
You’ll see a list of allowed ports and confirmation that all others are blocked.
After this, your server becomes far less vulnerable.
By default, UFW blocks everything you haven’t explicitly allowed — and that’s a huge win when it comes to preventing random attacks.
We once saw a server with unnecessary open ports (like 23 for Telnet) get hacked within hours — just because no one thought to close them.
If you’re using CentOS or RHEL, it’s more convenient to use firewalld.
The commands are different, but the principle is the same.
sudo firewall-cmd --add-port=22/tcp --permanent
sudo firewall-cmd --add-port=80/tcp --permanent
sudo firewall-cmd --add-port=443/tcp --permanent
sudo firewall-cmd --reload
For those who want full control, there’s iptables or nftables.
These are more complex, but offer a lot of flexibility — like:
- Filtering by IP address
- Limiting the number of connections
- Creating detailed access policies
Whatever you choose, just don’t leave your server unprotected.
Regular Updates: Keep Your System in Shape
Keeping your system updated is the second most important step — and it's absolutely essential.
Outdated software is like a rusty lock: technically in place, but easy to break.
Linux vendors, web servers, databases, and other software developers are constantly finding vulnerabilities and releasing patches.
If you don’t apply those updates, your server becomes a target for exploits that hackers have known about for years.
We’ve seen outdated versions of Apache or PHP lead to real breaches — and no, these aren’t made-up stories.

Hackers don’t wait for an invitation — their scanners look for outdated systems 24/7.
Even a one-week delay can give them a window of opportunity.
So take our advice: don’t procrastinate. Keep everything up to date — including:
- The Linux kernel
- Web servers (Nginx, Apache)
- Databases (MySQL, PostgreSQL)
- Interpreters (PHP, Python)
- And your CMS, if you're using one
On Ubuntu or Debian, updates take just a couple of commands:
sudo apt update && sudo apt upgrade -y
- The first checks for updates in your repositories
- The second installs all available updates
On CentOS or RHEL, it’s just as easy.
sudo dnf upgrade -y
We recommend running these commands once a week.
Set a reminder for Monday morning if needed.
And if you prefer automation, you can configure your system to apply critical security updates on its own.
On Ubuntu, that’s done with the unattended-upgrades package:
sudo apt install unattended-upgrades -y
sudo dpkg-reconfigure --priority=low unattended-upgrades
Just don’t forget to check that everything still works afterward —
automation can occasionally break things too.
And one more thing: don’t just update the OS.
Update your applications too.
For example:
- If you’re running Nginx, visit their website and make sure you’re using the latest version.
- Same goes for PHP or WordPress — older releases are often a doorway for attacks.
It takes time — but it’s worth it.

Disable Root Access: Remove the Obvious Target
Let’s talk about root — the all-powerful user in Linux.
Yes, it’s convenient… but working directly as root is a bad idea.
Everyone knows the username root, and that’s exactly what bots try to brute-force first.
We once had a client leave root access open on a test server —
the next day, the logs showed over a thousand login attempts.
Sure, the password was strong — but why take that risk?
Solution: Disable root access and use a separate user
- Create a new user — let’s call it
adminuser.
sudo adduser adminuser
Set a password and fill out any additional info (or skip it).
- Then give this user sudo rights.
sudo usermod -aG sudo adminuser
Configure SSH
Open the file /etc/ssh/sshd_config using a text editor (like nano).
sudo nano /etc/ssh/sshd_config
Find the line PermitRootLogin and change it to:
PermitRootLogin no
Save and exit:Ctrl+O → Enter → Ctrl+X
- Then restart the SSH service:
sudo systemctl restart sshd
Now, logging in as root over SSH is no longer possible.
You’ll log in as adminuser and use sudo for any command that needs elevated privileges.
Sure, it adds a few extra keystrokes —
but you’ll sleep better knowing you’ve blocked the number-one target of brute-force attacks.
SSH Keys: Say No to Passwords
Passwords for SSH are another major weak point.
They can be brute-forced — especially if you picked something simple.
More than half of SSH breaches happen due to weak passwords.
That’s why we strongly recommend switching to SSH keys.
They work as a pair — a public and a private key — and are virtually impossible to guess or crack.

How to set up SSH keys
It’s simple.
On your local machine (not the server!), generate a new key pair:
ssh-keygen -t ed25519
This will create two files:
~/.ssh/id_ed25519— your private key~/.ssh/id_ed25519.pub— your public key
Then, transfer your public key to the server.
The easiest way is with ssh-copy-id:
ssh-copy-id -i ~/.ssh/id_ed25519.pub adminuser@
Enter the password for adminuser, and the key will be added to ~/.ssh/authorized_keys.
If ssh-copy-id isn’t available, you can copy the contents of the .pub file manually
and paste it into ~/.ssh/authorized_keys on the server.
Test your login
ssh adminuser@
If everything’s set up correctly, you won’t be prompted for a password — it’ll log in using the key.
Keep your private key safe — make a backup and store it securely (e.g., encrypted USB or external drive in a safe).
Disable Password Authentication in SSH
In the /etc/ssh/sshd_config file, change the following:
PasswordAuthentication no
Restart the SSH service:
sudo systemctl restart sshd
Now brute-force attacks are no longer a threat — without a key, no one’s getting in.
Two-Factor Authentication: Double the Protection
SSH keys are great — but for even stronger protection, many admins enable two-factor authentication (2FA) for SSH.
That means to log in, you need both:
- Your SSH key
- A code from your phone
Even if someone steals your key, without your smartphone — they’re locked out.
We’ll use Google Authenticator for 2FA
Installation:
udo apt install libpam-google-authenticator -y
Under your adminuser, run:
google-authenticator
- Answer “yes” to all prompts.
- Scan the QR code using an app like Google Authenticator or Authy.
- Be sure to save your emergency backup codes in case you lose your phone.
Configure SSH to require the code
In the /etc/ssh/sshd_config file, update the following line:
ChallengeResponseAuthentication yes
In /etc/pam.d/sshd, add the following:
auth required pam_google_authenticator.so
Restart the SSH service:
sudo systemctl restart sshd
Now, after your SSH key is accepted, you’ll be prompted for a code from the app.
It takes a few extra seconds — but on the flip side, you can be confident your server is truly locked down.
Fail2Ban: Your Bot-Fighting Watchdog
Even with SSH keys and 2FA, we always recommend installing Fail2Ban.
It’s a smart utility that bans IP addresses for suspicious behavior.
For example: after 5 failed login attempts — the IP gets blocked for 10 minutes.
That alone slows down most brute-force attacks dramatically.

Installation:
sudo apt install fail2ban -y
Fail2Ban starts protecting SSH right out of the box.
If you're also running a web server or mail server,
you can add the relevant filters in:
/etc/fail2ban/jail.d/
Without Fail2Ban, bots may hammer your server hundreds of times per hour.
With it — things go quiet.
It’s like the bots give up.
Data Encryption: Protect What Matters
Always use encrypted protocols when possible:
- SSH
- SFTP
- HTTPS
But that’s not enough — you also need to protect data stored on the server itself.
If you have sensitive files, encrypt them before sending to backups:
openssl enc -aes-256-cbc -salt -in backup.tar -out backup.tar.enc
Set a strong password — without it, the file is just gibberish.
For full disk encryption, tools like LUKS are more complex to set up —
but we recommend them on high-sensitivity servers, especially those storing client data.
Backups: Your Safety Net
Backups are non-negotiable.
If your server gets hacked or crashes — a fresh copy can save you.
Without one, you’re in for a world of pain.
Figure out what matters most:
- Files
- Databases
- Configurations
…and set up regular backup routines.
Basic backup example:
tar -czf backup-$(date +%F).tar.gz /home
scp backup-$(date +%F).tar.gz user@backupserver:/backups/
- The first command creates the archive.
- The second sends it to a remote backup server.
Automate it with cron:
0 2 * * * tar -czf /backups/backup-$(date +\%F).tar.gz /home && scp/backups/backup-$(date +\%F).tar.gz user@backupserver:/backups/
This runs at 2:00 AM every night.
At King Servers, we offer our own backup solutions —
but we always suggest you keep a copy of your own, just in case.
Final Thoughts: Security Is a Habit
We’ve covered the essentials:
🔐 Firewall
🔄 Updates
🚫 No root login
🗝 SSH keys
📲 2FA
🛡 Fail2Ban
🔐 Encryption
💾 Backups
This is your baseline — the foundation that closes most security holes.
What else should you consider?
- Disable unnecessary services
- Monitor your logs
- Use SELinux or AppArmor
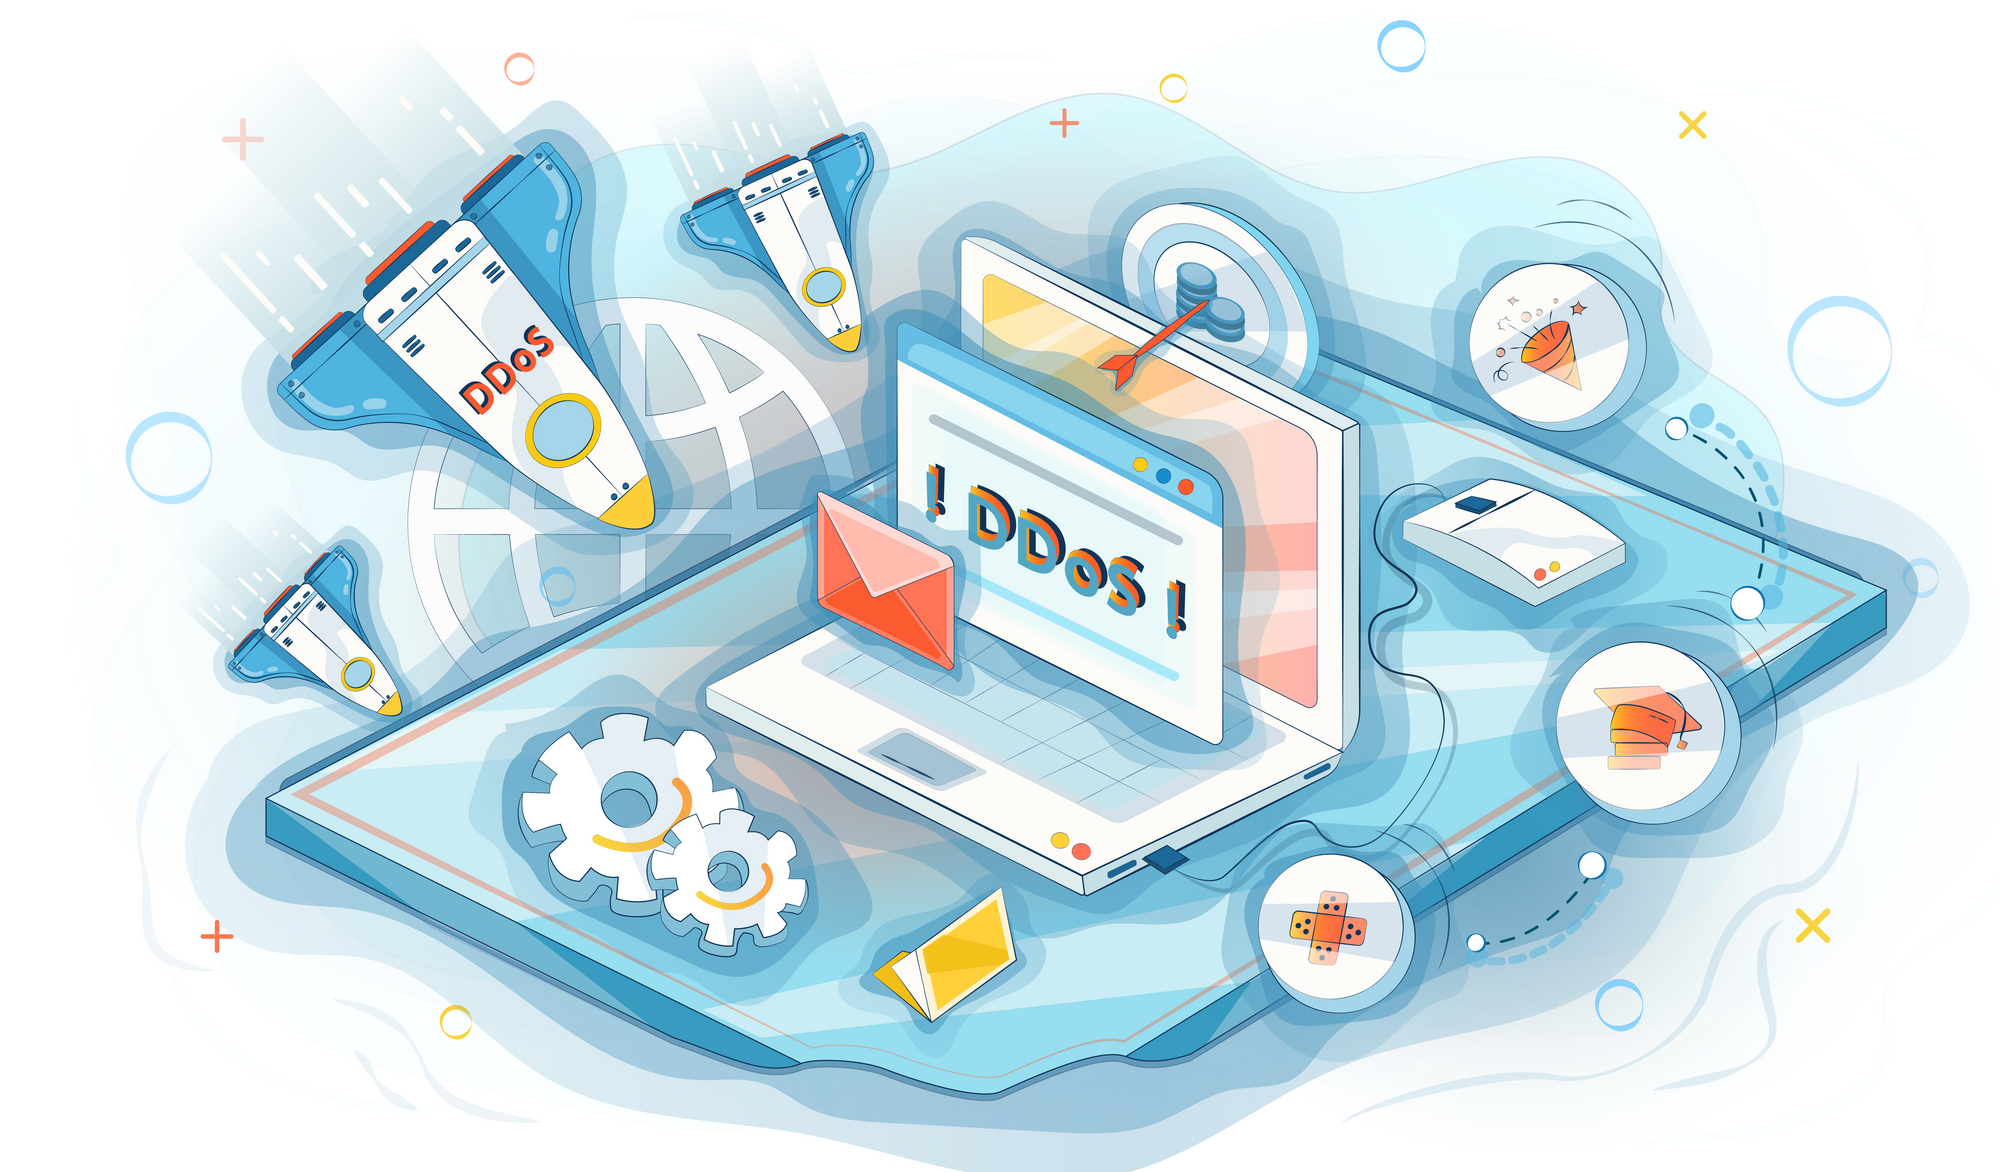
- Consider DDoS protection — we offer it at King Servers
Security isn’t a one-time setup.
It’s like brushing your teeth — do it regularly, and you’ll avoid a lot of trouble.
At King Servers, we’re always ready to help with setup and support —
don’t hesitate to reach out if anything’s unclear.
Better to spend an hour on prevention than a week recovering.
Keep your server safe — it’s worth it.